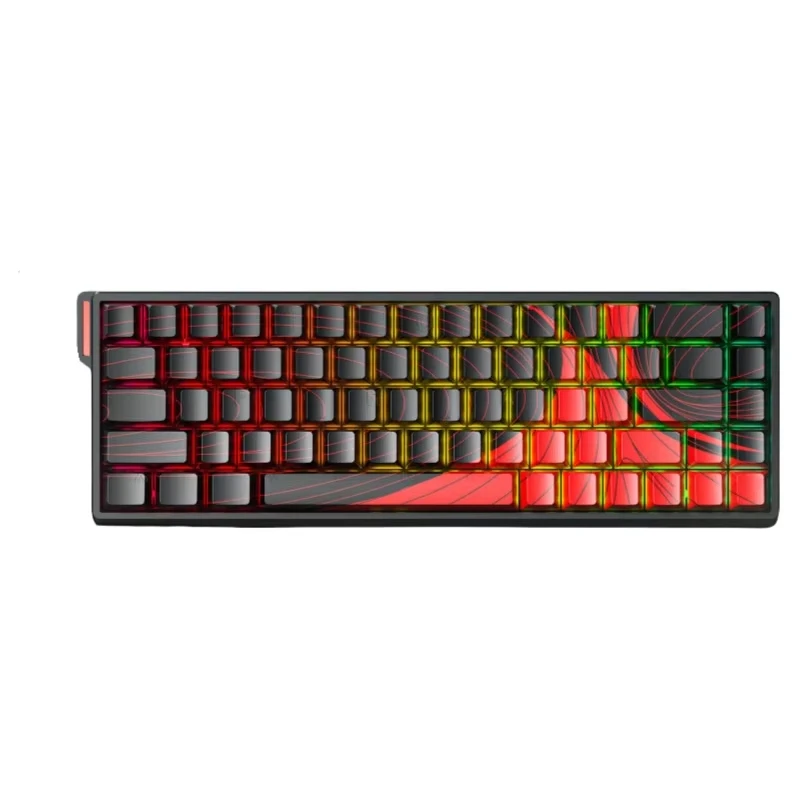
If you recently got an aula keyboard, you're already ahead of the game. Aula builds keyboards that punch well above their price point. They pack serious features into affordable packages. However, many users never fully explore what their keyboard can actually do. Setting up macros and lighting might sound technical, but it's genuinely straightforward once you know the steps. This guide covers everything you need. By the end, you'll squeeze every bit of performance and personality out of your setup.
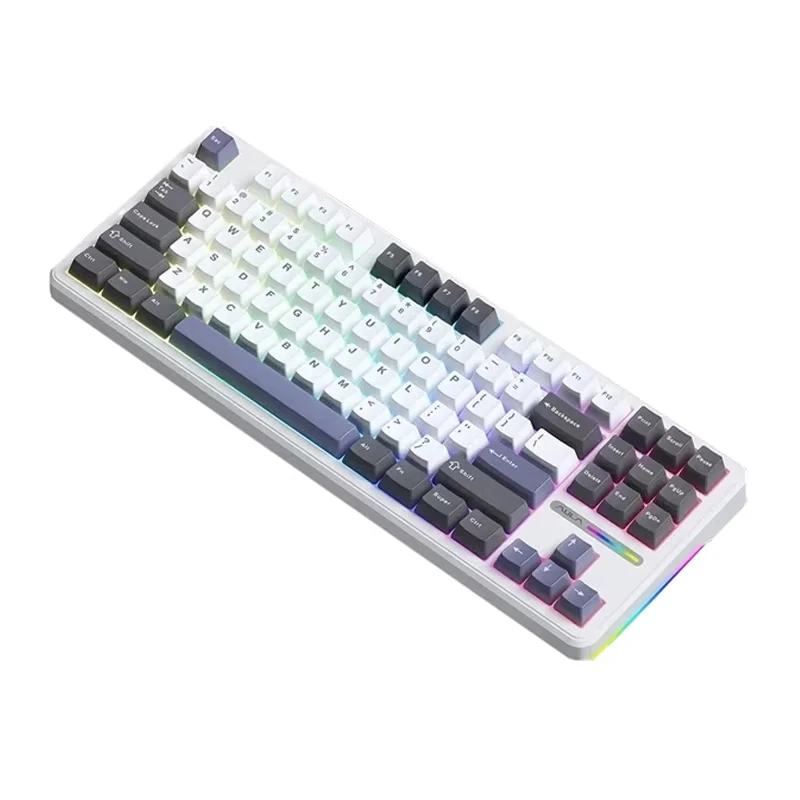
What Makes This Keyboard Worth Customizing
Before diving into setup steps, it helps to understand why customization matters. An aula keyboard ships with solid default settings. However, the real power comes from personalization. Macros let you automate repetitive tasks instantly. A single key press can trigger complex command sequences. This saves significant time during gaming or professional work. Meanwhile, RGB lighting isn't just decorative.
Good lighting reduces eye strain during long sessions. It also helps you locate keys faster in low-light environments. Furthermore, Aula designs its keyboards with deep software support. This means you get granular control over every function. Most competitors charge more for similar feature sets. Therefore, taking time to configure your keyboard properly delivers real, everyday value. Skipping this step means leaving performance on the table.
Downloading and Installing the Aula Software
First things first — you need the official Aula software. Without it, advanced macro and lighting features stay locked. Follow these steps carefully:
- Visit the official Aula website
- Navigate to the Support or Downloads section
- Search for your specific keyboard model number
- Download the correct driver package for your system
- Run the installer and follow all on-screen prompts
- Restart your computer after installation completes
- Plug in your keyboard via USB before opening the software
Troubleshooting Installation Issues
Sometimes the software doesn't detect your keyboard immediately. First, try a different USB port. Avoid USB hubs when possible. Direct connections to your motherboard ports work best. Additionally, temporarily disable your antivirus during installation. Security software sometimes blocks driver files incorrectly. If the problem continues, uninstall and reinstall the driver package completely. Also check that your Windows version meets the software requirements. Most Aula software supports Windows 10 and Windows 11 without issues.
Navigating the Aula Software Interface
Once the software opens, the interface looks clean and intuitive. You'll notice several main tabs across the top. These typically include Keys, Lighting, Macro, and Settings. Each tab controls a different aspect of your keyboard. Therefore, understanding the layout saves you a lot of confusion later.
The Keys tab shows a full visual map of your keyboard. You can click any key and reassign its function directly. The Lighting tab controls all RGB effects and colors. The Macro tab is where you record and manage command sequences. Finally, the Settings tab handles profile management and general preferences.
Understanding Profiles
Profiles are one of the most powerful features available. You can create multiple profiles for different use cases. For example, build one profile for FPS gaming and another for office work. Switching between profiles takes just seconds. Most Aula models support five or more saved profiles. Consequently, you never need to reconfigure settings when switching tasks.
Setting Up Macros Step by Step
Macros are the biggest productivity booster on any programmable keyboard. Here's exactly how to create one on your aula keyboard:
Step 1: Open the Macro Tab Click the Macro tab in the software. You'll see a list of existing macros on the left side.
2: Create a New Macro Click the + or New button. Give your macro a clear, descriptive name.
3: Record Your Sequence Click Start Recording. Then type the exact key sequence you want to automate. This could be a login command, a game ability combo, or a text string.
4: Set the Delay Adjust the delay between keystrokes. Shorter delays work well for gaming. Longer delays suit typing-based macros.
5: Assign the Macro to a Key Switch to the Keys tab. Click your target key. Select your new macro from the dropdown menu. Click Apply.
Additionally, you can set macros to trigger once, repeat while held, or loop continuously. Choose the behavior that suits your specific use case best.
Configuring RGB Lighting Effects
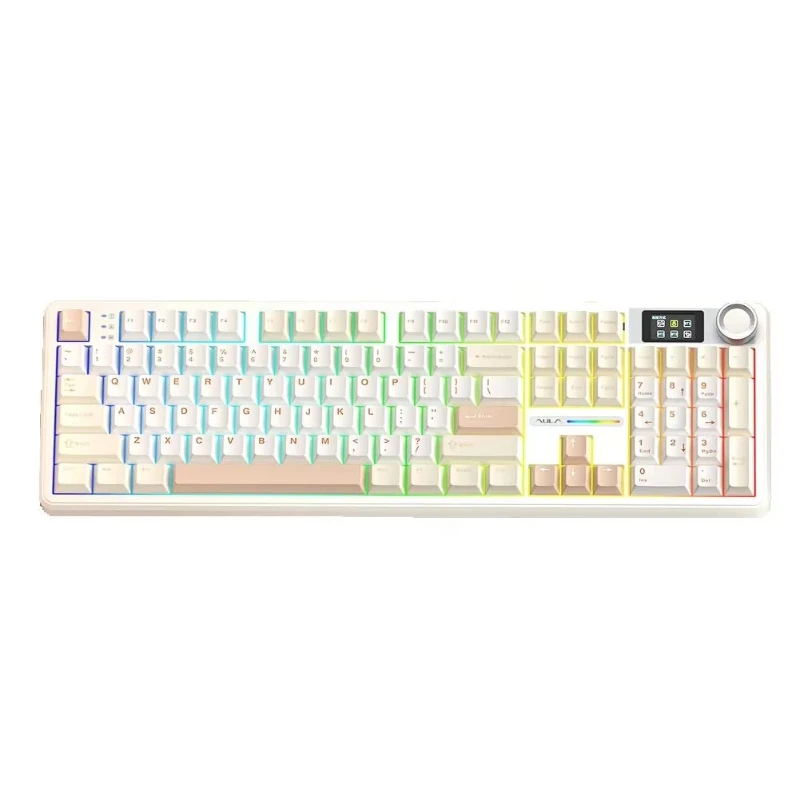
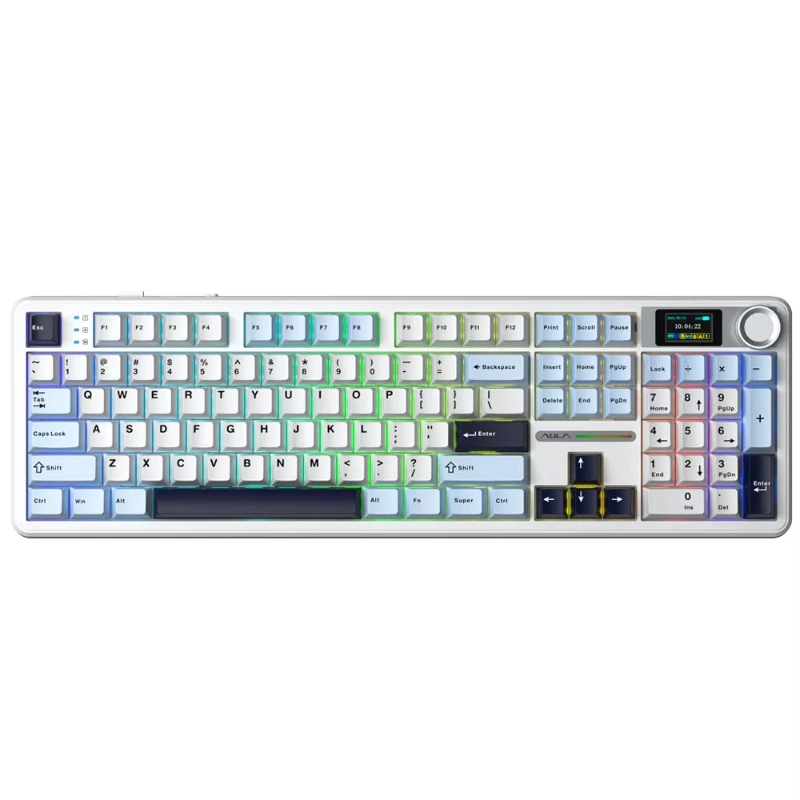
Lighting customization is where the aula keyboard truly shines. The Lighting tab gives you full control over every visual effect. Here's how to get the most out of it:
Choosing a Lighting Mode
Aula keyboards typically offer these popular lighting modes:
- Static – One solid color across all keys
- Breathing – Keys fade in and out smoothly
- Wave – Colors ripple across the keyboard
- Reactive – Keys light up when you press them
- Spectrum Cycle – Colors shift through the rainbow continuously
- Custom – You choose individual colors for specific keys
Start by selecting a mode that matches your setup's overall aesthetic. For gaming, reactive and wave modes feel dynamic and responsive. For office work, static or breathing modes reduce visual distraction effectively.
Adjusting Brightness and Speed
After choosing a mode, fine-tune the brightness slider. Most users find 60–80% brightness comfortable during long sessions. Furthermore, adjust the animation speed for wave or breathing effects. Slower speeds feel calming. Faster speeds feel energetic and intense. Experiment freely until you find the combination that feels right.
Per-Key Color Customization
Custom mode unlocks the most exciting option. Click any individual key on the visual map. Then pick a color from the color wheel. Repeat this for as many keys as you like. Consequently, you can highlight WASD keys in one color and function keys in another. This approach creates a functional and beautiful layout simultaneously.
Saving and Syncing Your Settings
After configuring macros and lighting, always save your work. Click the Apply or Save button in the software. Most Aula keyboards store settings directly on onboard memory. This means your settings stay active even on computers without the software installed. However, always verify this feature exists on your specific model.
Furthermore, consider exporting your profile as a backup file. The software usually offers an export option in the Settings tab. Save this file to cloud storage or an external drive. Therefore, if you ever reset your keyboard or switch computers, restoring your setup takes only seconds. Additionally, create separate profiles for different environments. Label them clearly so switching stays effortless during busy sessions.
Frequently Asked Questions About Aula Keyboard Setup
Q: Does the Aula software work on Mac? Currently, most Aula software versions support Windows only. Mac users can still use basic keyboard functions but may lose access to advanced macro and lighting controls.
Q: How many macros can I store on an Aula keyboard? This varies by model. Most models support between 15 and 50 individual macros across multiple profiles.
Q: Can I use my Aula keyboard without installing the software? Yes. The keyboard works plug-and-play for basic typing. However, macros and custom lighting require the software for setup.
Q: Why isn't my lighting saving after I unplug the keyboard? Make sure you click Apply before disconnecting. Also confirm that your model supports onboard memory storage.
Q: Can I assign macros to any key? Almost every key supports macro assignment. However, some system keys may have restrictions depending on your operating system settings.
Final Tips for Getting the Most from Your Aula Keyboard
Mastering your aula keyboard setup takes a little time upfront. However, the payoff is absolutely worth it. Start simple. Create one or two basic macros first. Then gradually build more complex sequences as your confidence grows. Similarly, experiment with one or two lighting modes before committing to a full custom layout. Small steps lead to a fully optimized setup faster than you expect. Moreover, stay connected with the Aula user community online. Forums and social groups share useful macro templates and lighting presets regularly. These resources accelerate your learning considerably. Above all, remember that your aula keyboard is a versatile, powerful tool. Treat it that way. Configure it thoughtfully, and it will serve every gaming session, work sprint, and creative project beautifully for years to come.